On the Chinese opera stage, wigs are used extensively for female roles, and sometimes for male roles too. Chinese opera wig is already hard to get in Singapore due to the size of the potential market, and what you can often get locally are the badly styled ones. Therefore, many Chinese opera artistes would fly over to Taiwan or China to buy, but it is not cheap, even if you do not take into consideration the cost of the air ticket.
So what can an aspiring actor with a small budget do to own a Chinese opera wig? Well, he or she can make them out of a normal wig! Of course, you can't use any wigs you find in the wig shops just as they were because they looked way too modern, even for those plain straight ones. You would still have to style them first. There are hundreds of different kinds of wigs available in the market, and how should one go about choosing it? Let's start off from the fundamentals.
In vague terms, wigs can be classified as synthetic wigs and real hair wigs. As the name implies, synthetic wigs are made of synthetic fibres while real hair wigs are woven from real human hair. A real hair wig can cost many times more than that of made of synthetic fibre, but you can style it over and over again, whereas synthetic fibre wigs are not really meant to be restyled, and excessive or rough combing can actually damage the fibres permanently. (You can check if the wig’s made of real hair or synthetic fibre by snapping a strand of the hair; if it's real hair, it should just snap into two, whereas synthetic fibre would stretch, snap and shrink into a frizzy strand.) For economical reason, a synthetic wig would do just find.
The next thing we should look at is the style of the wig. The wig, obviously, would have to be long (at least till chest level after wearing it), straight and black. One important aspect to take note is that the wig must not have any fringe, even though you may want your completed wig to spot one. The reason is because we would need to comb up the crown area of the wig up into buns to look like those in the Chinese opera wigs. If there is already a fringe on the wig, the hair on the crown area could be too short to be combed up. If you really want the final wig to spot a fringe, you should get the fringe cut only after styling. Another thing to take note is that the wig should be at least has a monofilament crown. A monofilament is a term to describe how the inside of a wig is constructed. One of the features of a monofilament wig is to allow the wig wearer to part their wig in any direction without revealing their real hair (or lack of) underneath. This is especially important, because we might just reveal the wig's netting around the area where you comb up the hair, and it would look very ugly.
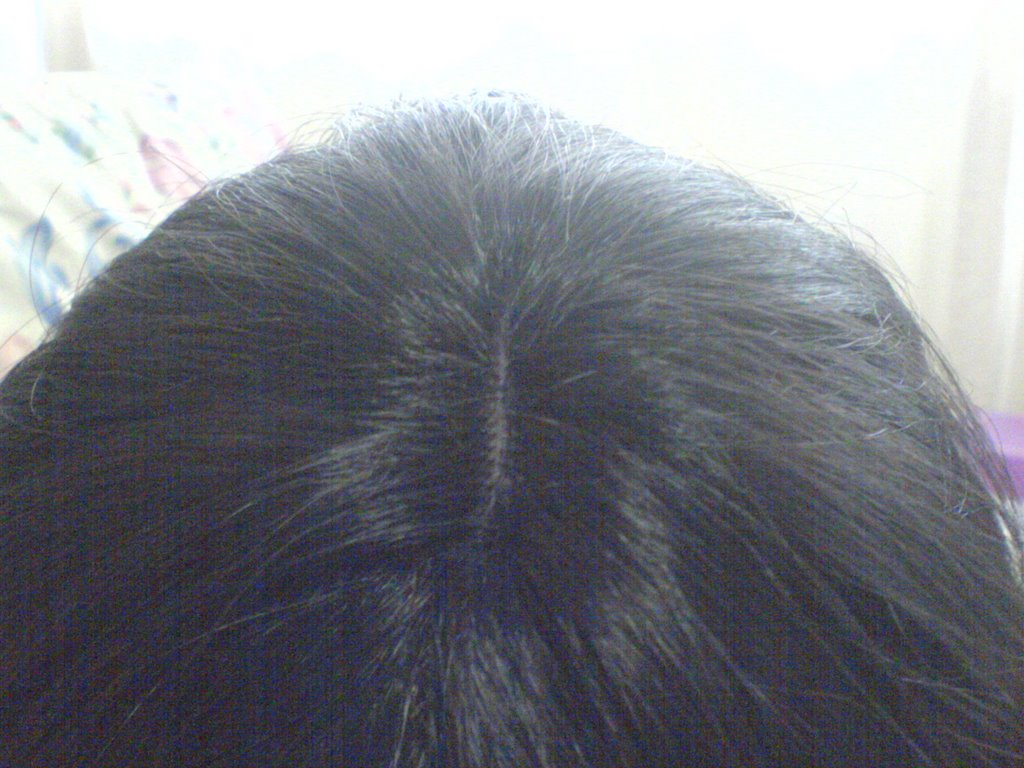
A monofilament crown wig showing off some "skin" beneath
A monofilament crown wig with portion of hair combed up, not revealing whatever beneath the wig
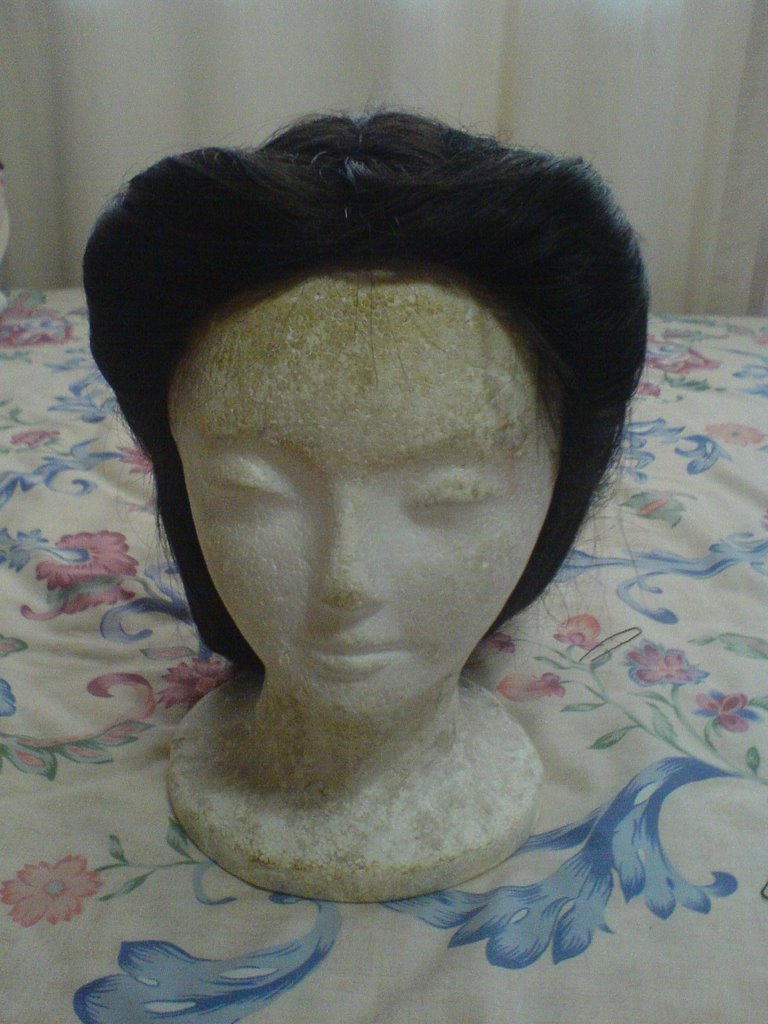
A non-monofilament crown wig with portion of hair combed up, revealing whatever beneath the wig
Besides the wig, we should also have some rats ready. No I do not mean those creatures with 4 legs that go munching through all your electrical cables. These "rats" are actually stuffed hair buns which are used to create volume during hairstyling. Sad to say, rats are out of fashion in Singapore already, and I can't seemed to find any locally anymore. However, one can still make one themselves by stuffing crepe hair into fine black stocking. Of course you do not need rats as long as a stocking. A rat about one-third that of the size of a fist should be big enough, and depending on the style you want to make, you would need about 2 to 3. You may consider making a few more of various lengths and density, which can be used to add height and volume of your wig for different roles.
Other things we need to get in advance are hairpins, black rubber bands, and a foam wig stand. First sit the wig securely over the wig stand, then part a fraction of the hair on the crown section of the wig, and comb them to the front. Secure 2 rats on both sides of the crown, near the temple region, and comb the parted hair neatly over it rats. Remember to leave some of the hair for the fringe, if you intend the final wig to spot one. After combing the hair over the rats, ensure that the rats were totally covered. Tie the combed hair behind the rats in a way that the hair is wrapped around the rats tightly with no loose hair coming out in any directions, or the rats being exposed. You might have to redo these steps over and over again, in order to try to find the correct position for the rats, as well as the correct size and shape for your buns. Now that you have 2 buns on the wig, secure the position of the buns onto the wig with hair pins.
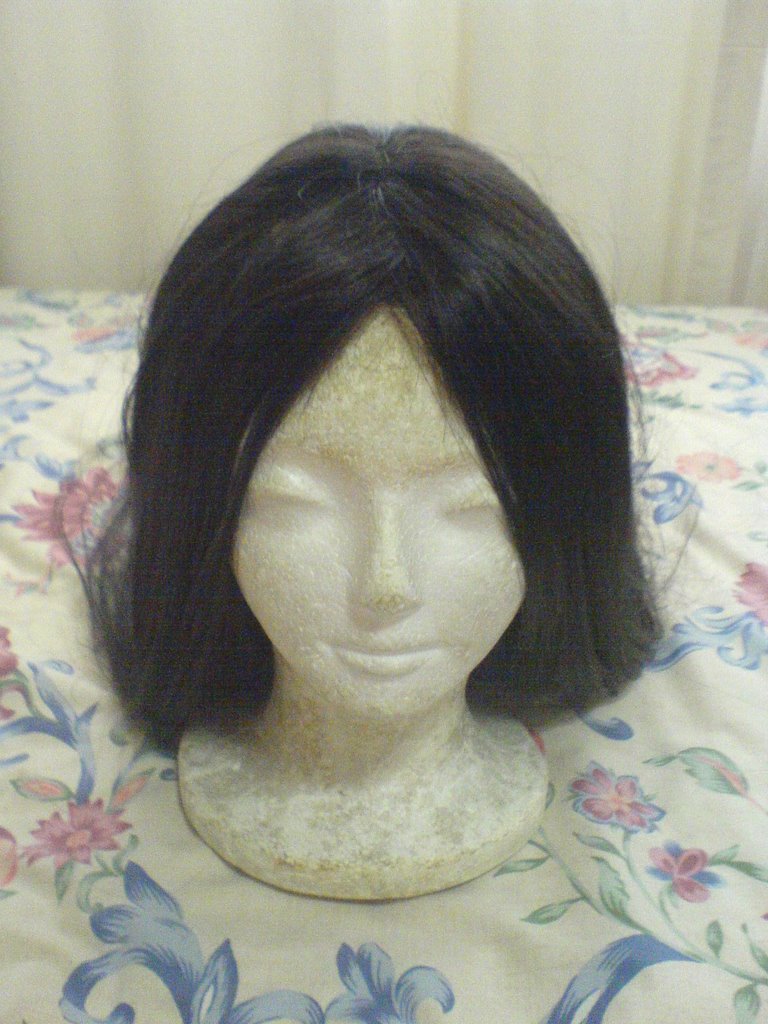
A "raw" wig on wig stand
Parting a portion of hair from the wig and positioning the rat
Combing the parted hair neatly back over the rat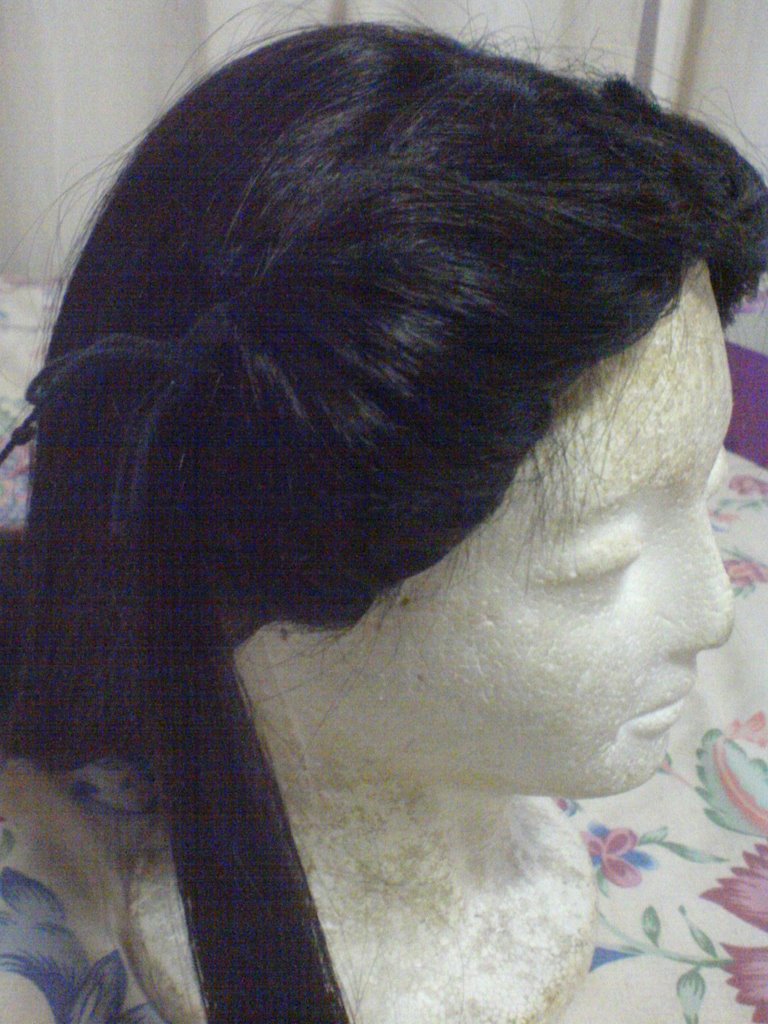
Tie the combed hair behind the rat into a tight bun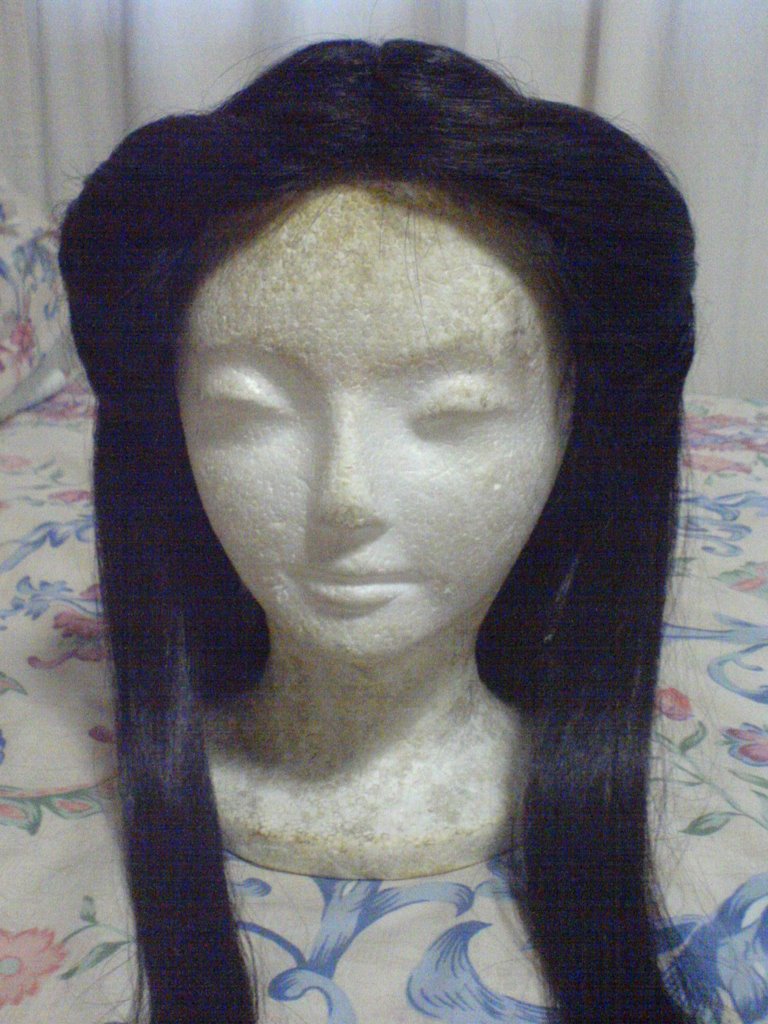
Half finished wig with one bun each on both sides
There you are, your wig is almost done! To make the wig even neater, you can pleat up the two tassels of hair behind the bun and secure them in an obscure position, while tying the hair behind with a ribbon into a bunch. If you have left a portion of the front hair for the fringe, remember to have it cut and style by some professionals! Do not attempt to do it on your own unless you're very experienced with it, or you may just ruin the fibres (especially so if it's synthetic wig).
Back of hair neatly tied into a bunch (completed)
Completed wig with additional rats attached and secured to add volume and style for character portrayal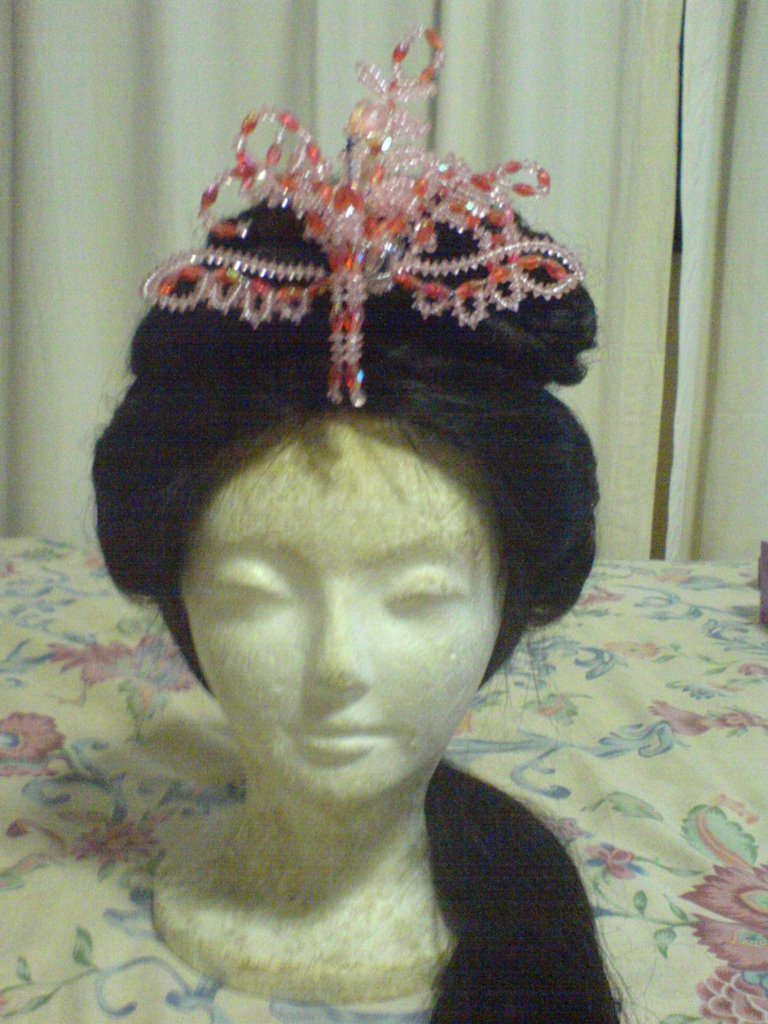
Previous wig with additional hair acceossories